
| Workshop | Empennage | Wings | Fuselage | Contact |
| <-- July 2012 | September 2012 --> |
Chronological Updates, August, 2012
30 Aug 2012
I got the rib-to-top-skin rivets completed on the right flap, then slid the bottom skin in place. I was able to do the bottom flange of the flap spar rivets myself, sticking one hand down between the two pieces of skin to steady the bucking bar. It's a bit of a pain, but not as hard as I was expecting.

Once that's done, there are a bunch of blind rivets to connect the nose skins and bottom skin to the bottom flanges of their respective ribs. The inner-most and outer-most ribs get squeezed with the pneumatic squeezer, and then all of the flap rivets are done except the trailing edge.
I still hadn't finished the countersinks on the last two pieces of trailing edge extrusion so I went ahead and knocked those out. Then, just before leaving for a long mountaineering trip, I mixed up 20g of ProSeal and got the trailing edge extrusions sealing into place. I was gone for over a week, so they had plenty of time to cure. When I came back, back-riveting the double-flush rivets went really quickly.
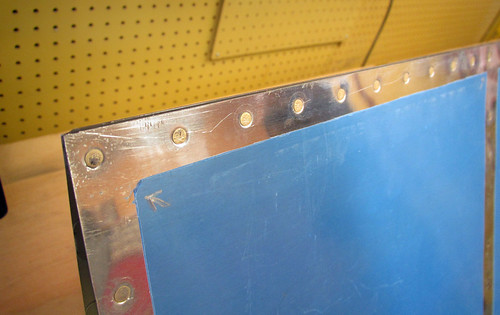
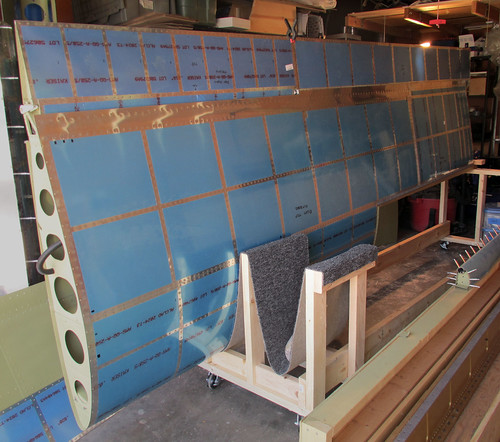
Other than connecting the actuation components, which is recommended to hold off until after painting, the right flap is now complete! Here are a couple of photos showing the final product. First, the inboard end with the hole for the control rod:
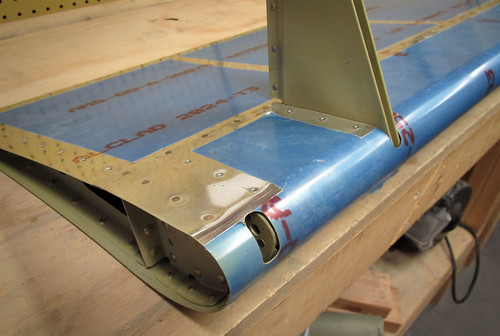
And here's the full flap sitting up on the workbench:
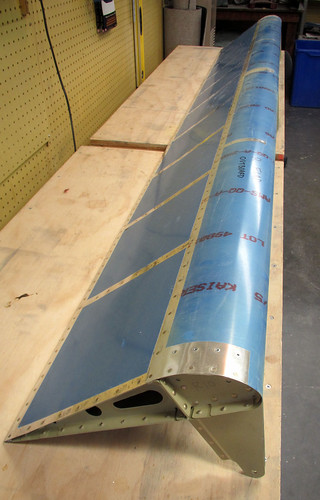
The next step is to attach the flap to the wing, which I'll probably do tomorrow.
31 Aug 2012
Before the flap can be attached to the right wing, I had to add three brass bushings to the flap hinge hangers coming out of the wing body. I found it easiest to press them into place by using a quick-clamp to apply presure uniformly. This got one side flush, then I added a small keyring to the flush side so that the bushing would push through a bit more and the install would be symmetric.
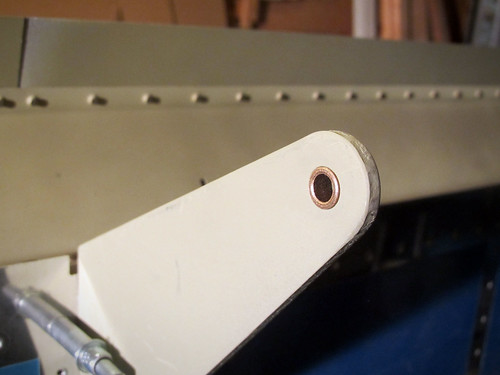
Once all three bushings were pressed into service, the flap dropped right into place with no clearance problems or alignment issues of any kind.
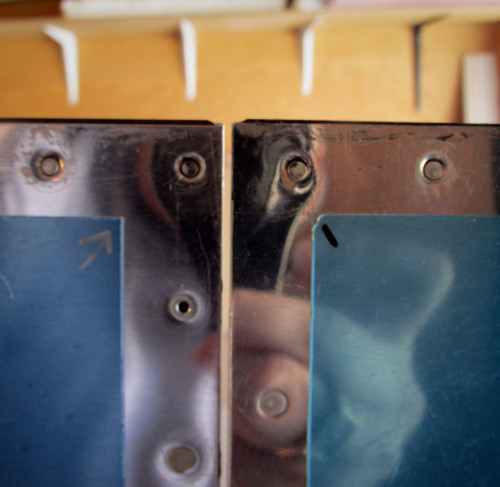
Holding the aileron in its trail position allowed me to check the alignment and clearance between the flap and aileron and these were perfect as well:
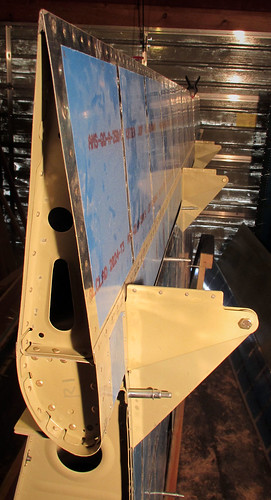
The flap actuation hardware will wait until after paining, so for now the flap is fully installed and ready for storage in the garage. Here's one more picture of the install, showing the bolted joints:
The only major component missing from the right wing now is the fuel tank.
I got the rib-to-top-skin rivets completed on the right flap, then slid the bottom skin in place. I was able to do the bottom flange of the flap spar rivets myself, sticking one hand down between the two pieces of skin to steady the bucking bar. It's a bit of a pain, but not as hard as I was expecting.

Once that's done, there are a bunch of blind rivets to connect the nose skins and bottom skin to the bottom flanges of their respective ribs. The inner-most and outer-most ribs get squeezed with the pneumatic squeezer, and then all of the flap rivets are done except the trailing edge.
I still hadn't finished the countersinks on the last two pieces of trailing edge extrusion so I went ahead and knocked those out. Then, just before leaving for a long mountaineering trip, I mixed up 20g of ProSeal and got the trailing edge extrusions sealing into place. I was gone for over a week, so they had plenty of time to cure. When I came back, back-riveting the double-flush rivets went really quickly.

Other than connecting the actuation components, which is recommended to hold off until after painting, the right flap is now complete! Here are a couple of photos showing the final product. First, the inboard end with the hole for the control rod:

And here's the full flap sitting up on the workbench:

The next step is to attach the flap to the wing, which I'll probably do tomorrow.
31 Aug 2012
Before the flap can be attached to the right wing, I had to add three brass bushings to the flap hinge hangers coming out of the wing body. I found it easiest to press them into place by using a quick-clamp to apply presure uniformly. This got one side flush, then I added a small keyring to the flush side so that the bushing would push through a bit more and the install would be symmetric.

Once all three bushings were pressed into service, the flap dropped right into place with no clearance problems or alignment issues of any kind.

Holding the aileron in its trail position allowed me to check the alignment and clearance between the flap and aileron and these were perfect as well:

The flap actuation hardware will wait until after paining, so for now the flap is fully installed and ready for storage in the garage. Here's one more picture of the install, showing the bolted joints:

The only major component missing from the right wing now is the fuel tank.
| <-- July 2012 | September 2012 --> |