
| Workshop | Empennage | Wings | Fuselage | Contact |
| <-- February 2011 | May 2011 --> |
Chronological Updates, March, 2011
31 Mar 2011
It has been awhile since I updated; work has been progressing slowly. In the past month all I really got done was the left landing light lens. I started by preparing the lens bracket bars. Here are the upper two for the left side:
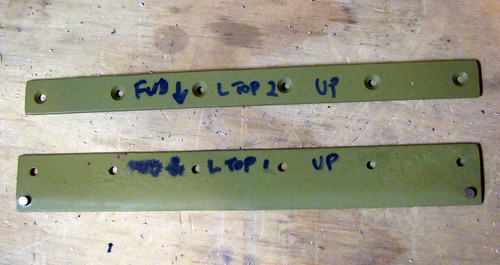
These two parts were riveted together onto the inside surface of the leading edge skin above the landing light hole, making a nice slot between the stop rivets for the lens to slide into:
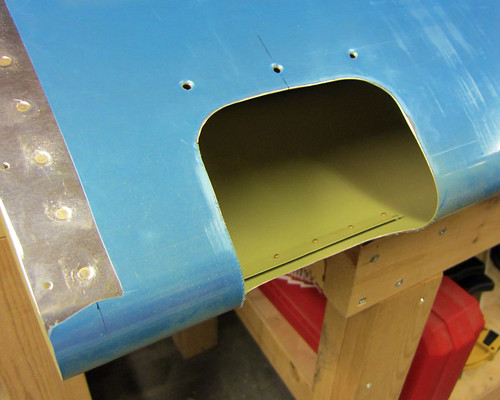
With that done, all of the fixed parts for the landing light assembly were complete. This isn't saying much, since it's just the hole and the two parts of the upper lens bracket... Regardless, here is a view of the "finished" landing light modifications for the left side:
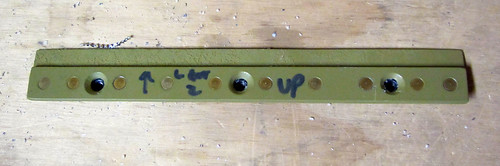
Moving on to the removable parts, here is the lower lens bracket riveted together with its three nutplates:
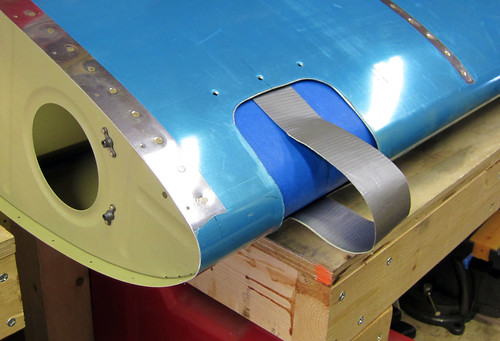
With the lower bracket taped onto the lens itself and the lens cut down to size on my tiny bandsaw, I was able to use a duct tape handle to test fit the lens. I've coated the lens in blue tape to keep it scratch-free.
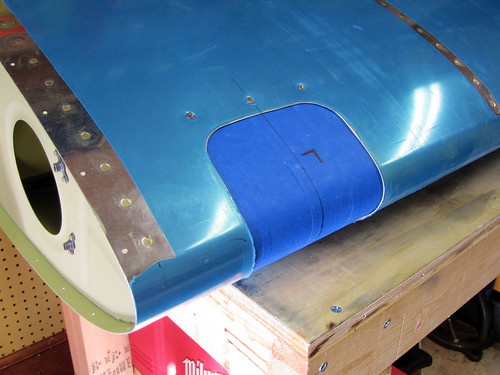
I made a few trimming cuts on the acrylic to get the screw holes in the skin to line up with the nutplates on the lower retainer bracket, and then everything was looking good. Here's the lens installed, but still covered in blue tape:
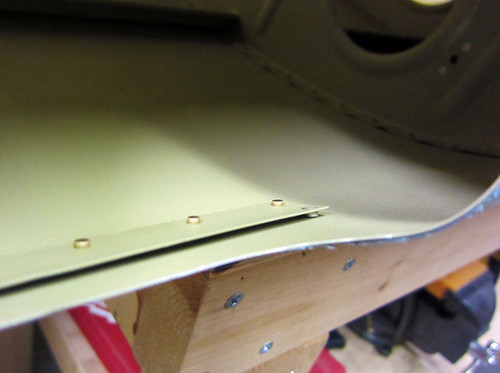
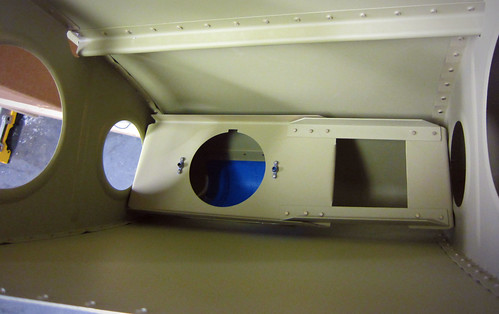
The last few steps for installing the lens require the tape to come off the lens, so I'll save them until the plane is about ready to fly. I also want to coat the inside of the bay with some thermal reflector material so that the heat of the lamps doesn't impact my paint just above the lamp; that'll need to be done before the leading edge gets riveted onto the spar. In the meantime, I installed the lamp bracket just for storage. Here's a view looking forward in the outboard bay of the leading edge showing the bracket installed:
That's really all I accomplished this month! Hopefully April will be more productive.
It has been awhile since I updated; work has been progressing slowly. In the past month all I really got done was the left landing light lens. I started by preparing the lens bracket bars. Here are the upper two for the left side:
These two parts were riveted together onto the inside surface of the leading edge skin above the landing light hole, making a nice slot between the stop rivets for the lens to slide into:
With that done, all of the fixed parts for the landing light assembly were complete. This isn't saying much, since it's just the hole and the two parts of the upper lens bracket... Regardless, here is a view of the "finished" landing light modifications for the left side:
Moving on to the removable parts, here is the lower lens bracket riveted together with its three nutplates:
With the lower bracket taped onto the lens itself and the lens cut down to size on my tiny bandsaw, I was able to use a duct tape handle to test fit the lens. I've coated the lens in blue tape to keep it scratch-free.
I made a few trimming cuts on the acrylic to get the screw holes in the skin to line up with the nutplates on the lower retainer bracket, and then everything was looking good. Here's the lens installed, but still covered in blue tape:
The last few steps for installing the lens require the tape to come off the lens, so I'll save them until the plane is about ready to fly. I also want to coat the inside of the bay with some thermal reflector material so that the heat of the lamps doesn't impact my paint just above the lamp; that'll need to be done before the leading edge gets riveted onto the spar. In the meantime, I installed the lamp bracket just for storage. Here's a view looking forward in the outboard bay of the leading edge showing the bracket installed:
That's really all I accomplished this month! Hopefully April will be more productive.
| <-- February 2011 | May 2011 --> |